- Login to your Jira with a user which has Jira admin rights.
- Create new application-link:
- Jira Cloud:
- Go to: Jira Settings -> Products -> Application Links
- Create a new application-link by entering 'https://piplanning.io' in the field on the top of the page. Click "Create new Link".
- or if you are on Jira server / data-center:
- Go to Settings → Applications → Application Links
- Click "Create Link" on the top right
- Select "Atlassian product" and enter the URL "https://piplanning.io"
- Jira Cloud:
- In the newly opened popup, press "Continue" (if there is the checkbox "Use this URL" please activate it first, then press "Continue")
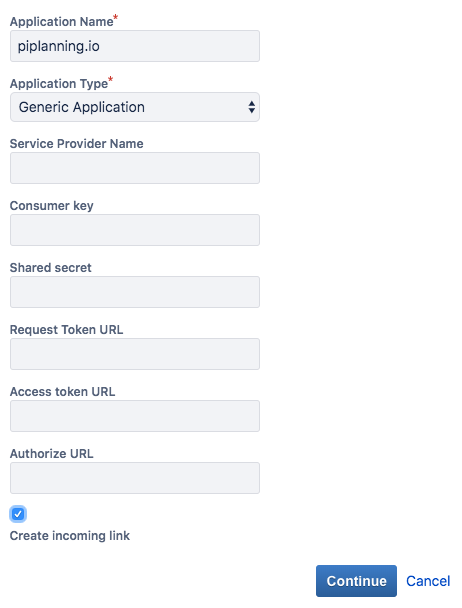
Enter the application name 'piplanning.io' in the top field. Make sure you hit the checkbox 'Create incoming link' before clicking Continue.
Info You can just provide dummy values for the fields on this screen if Jira requires you to fill out all the fields. (Depends on Version of Jira)
Copy over the consumer-key from the cockpit (Setup oAuth screen).
Info title Onpremise < 2.10.0 The consumer-key in older version of the piplanning app was not shown in the cockpit. The value there is 'piplanning.io'
- Consumer Name can be of any value. Name it: 'piplanning.io'.
- Copy the Public-Key from the piplanning cockpit RTE Cockpit (Setup oAuth screen). Click Continue.
- On the piplanning setup tool RTE Cockpit page, click "Authenticate".
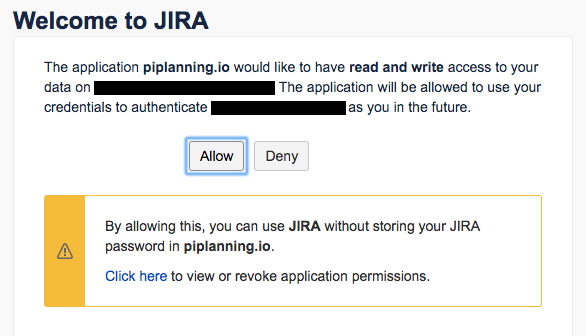
- Follow the steps displayed in the Jira page.
- Close the JIRA window and click "Check & Close" on the piplanning.io setup page.
...


