Connection to Jira
INDEX
Setup a new connection to Jira
You can connect to Jira either by using OAuth (default) or basic-auth.
For Jira cloud: You'll need to generate an API key and use it instead of your password: https://id.atlassian.com/manage-profile/security/api-tokens
 .
.
In either case, connecting via basic auth or OAuth, we recommend to create a service user upfront.
WHY
Changes made in Jira via piplanning app will be done by the user which was used to setup the connection. That means, every change in the Issue history will be done by that user. Therefore we suggest to use a service user (i.e. piplanning_app) so it's clear which changes are done from the piplanning app.
For both Basic Auth and OAuth connection there are more options which you can access when clicking on the checkbox "Advanced Settings". Check Connection advanced settings for more information
Create a service user
A Service User is not mandatory, but recommended. Create a service user (i.e piplanning_app) in your Jira instance. The email address is not relevant. Make sure that the service user does not need to login via Single Sign On if such a solution is in place.
In both cases, using a service user or a normal user, keep in mind that this user has the following permissions in all Jira projects you want to synchronize with the piplanning app:
- BROWSE_PROJECT
- CREATE_ISSUES
- DELETE_ISSUES (optional)
- EDIT_ISSUES
- LINK_ISSUES
- SCHEDULE_ISSUES
- MANAGE_SPRINTS_PERMISSION (optional)
Basic Auth
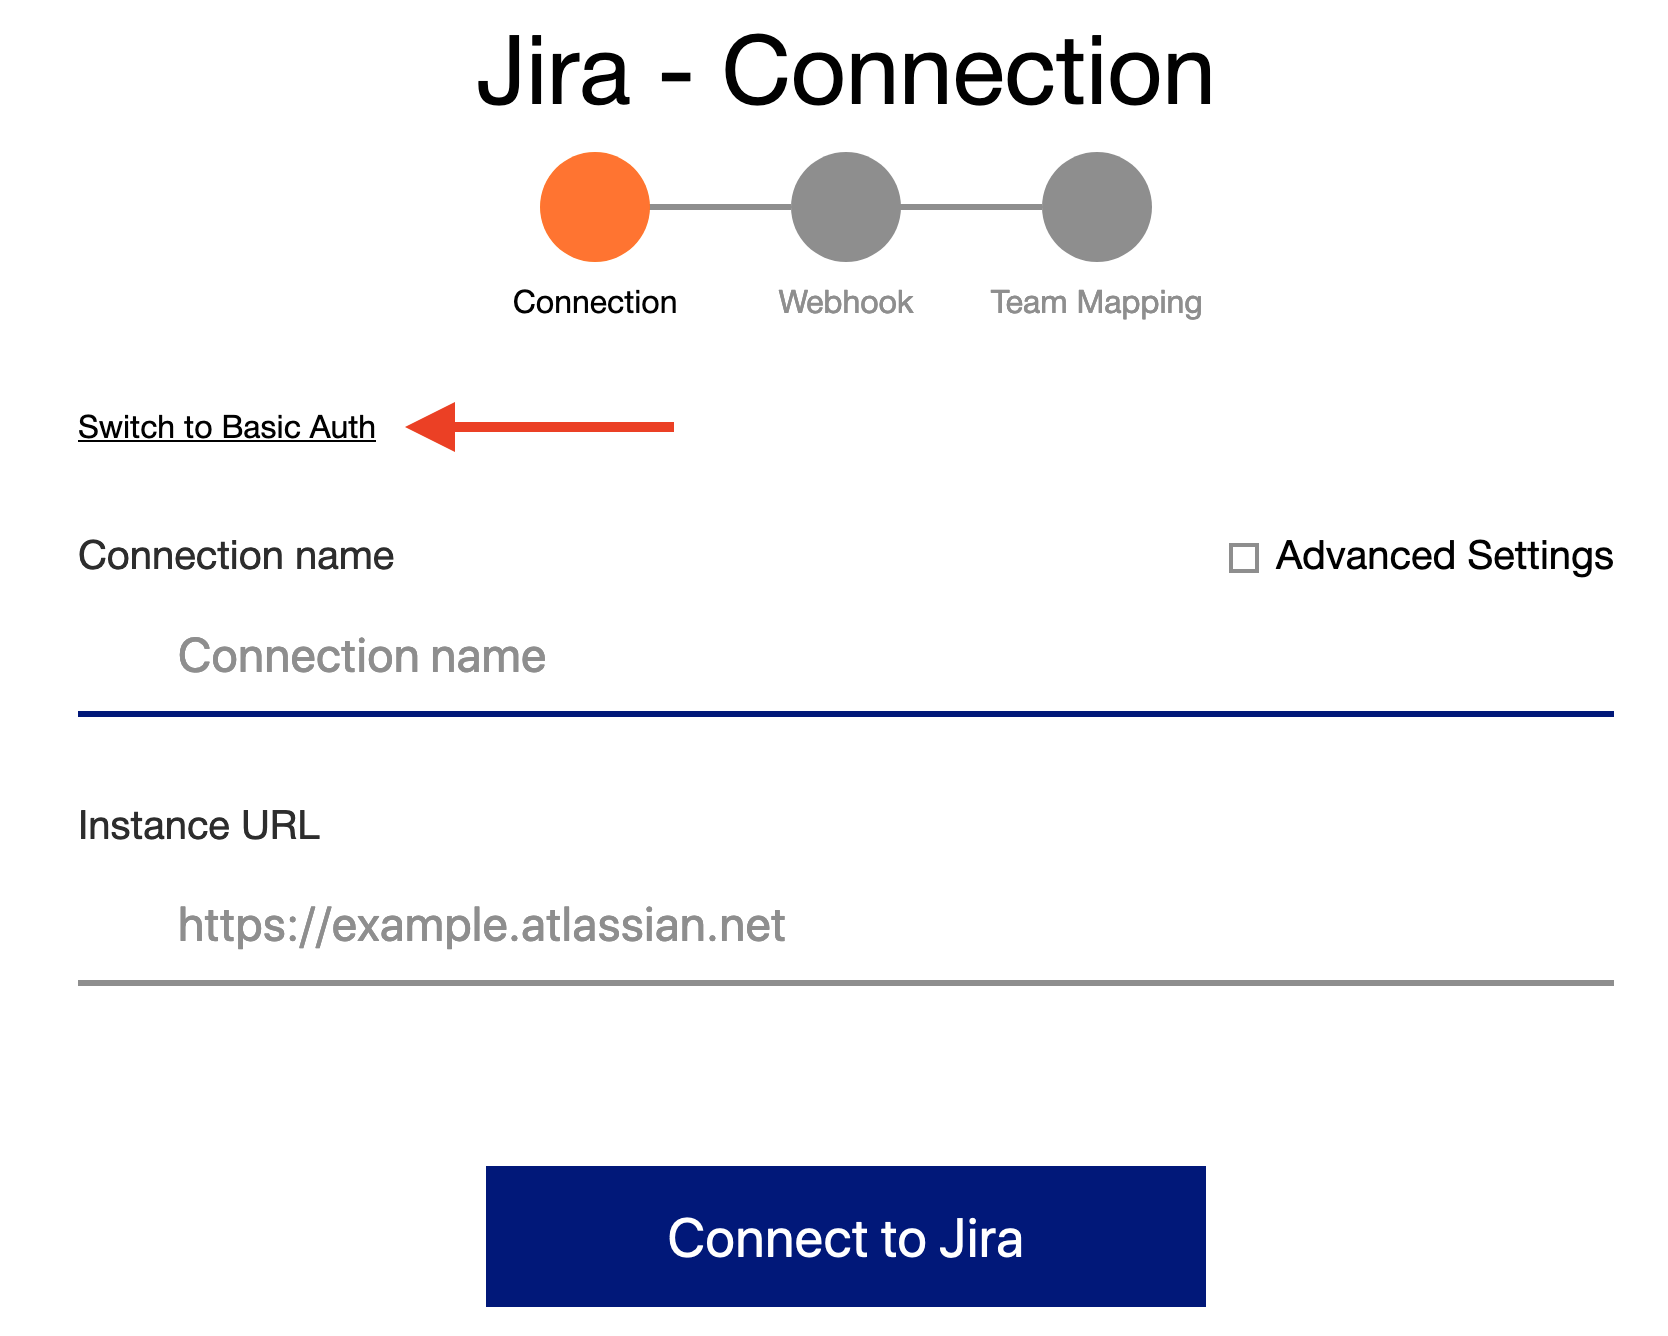
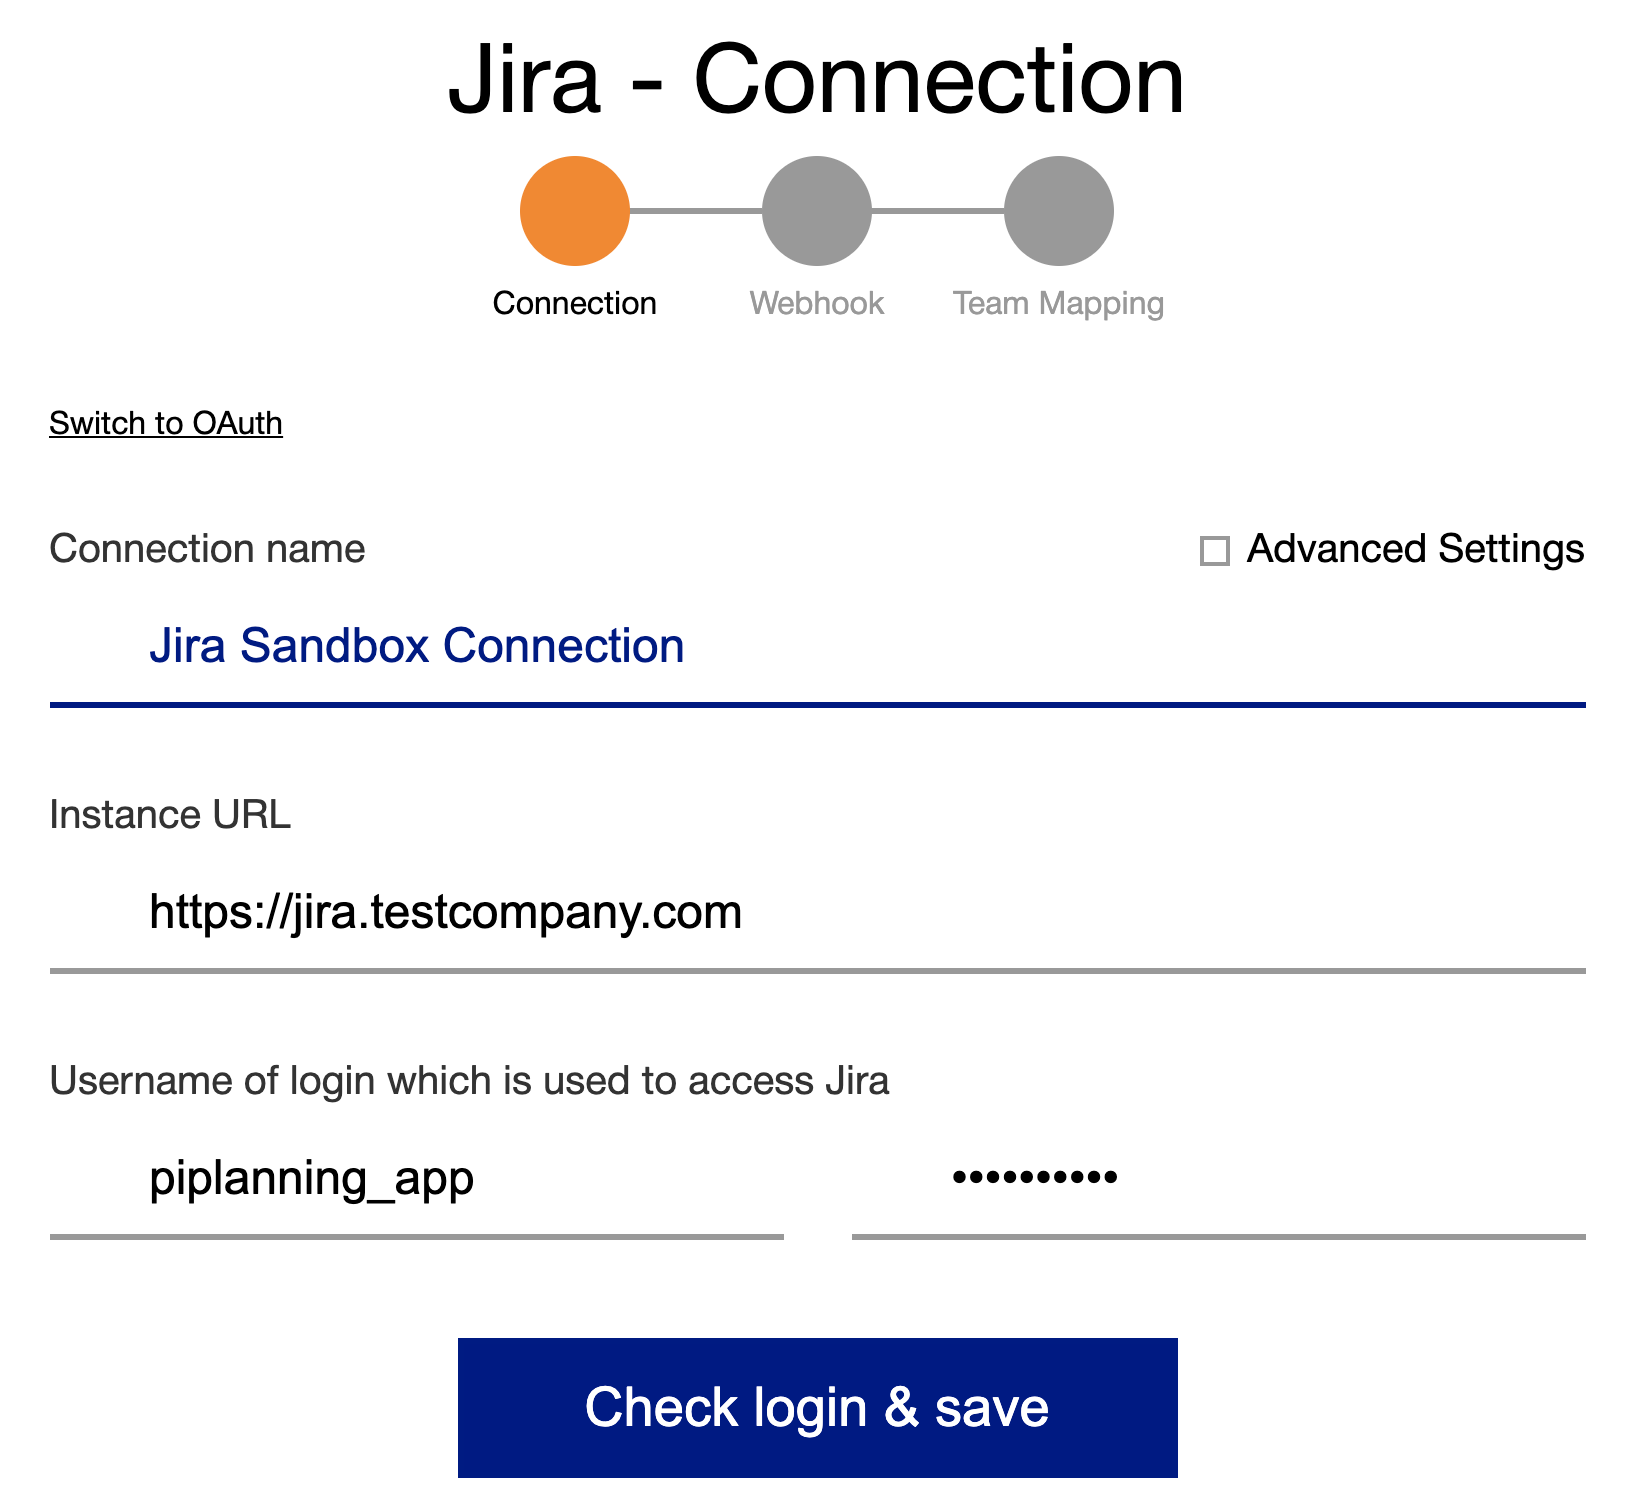
- Click on "Switch to Basic Auth" on the top right
- Fill in the username and password of a Jira user (preferably a service user).
OAuth
- Create a service user (recommendation)
- Login to Jira with the service user (make sure the user has the right permissions)
- Login to the piplanning app with a piplanning app Admin User who has also the permissions of a Jira Administrator
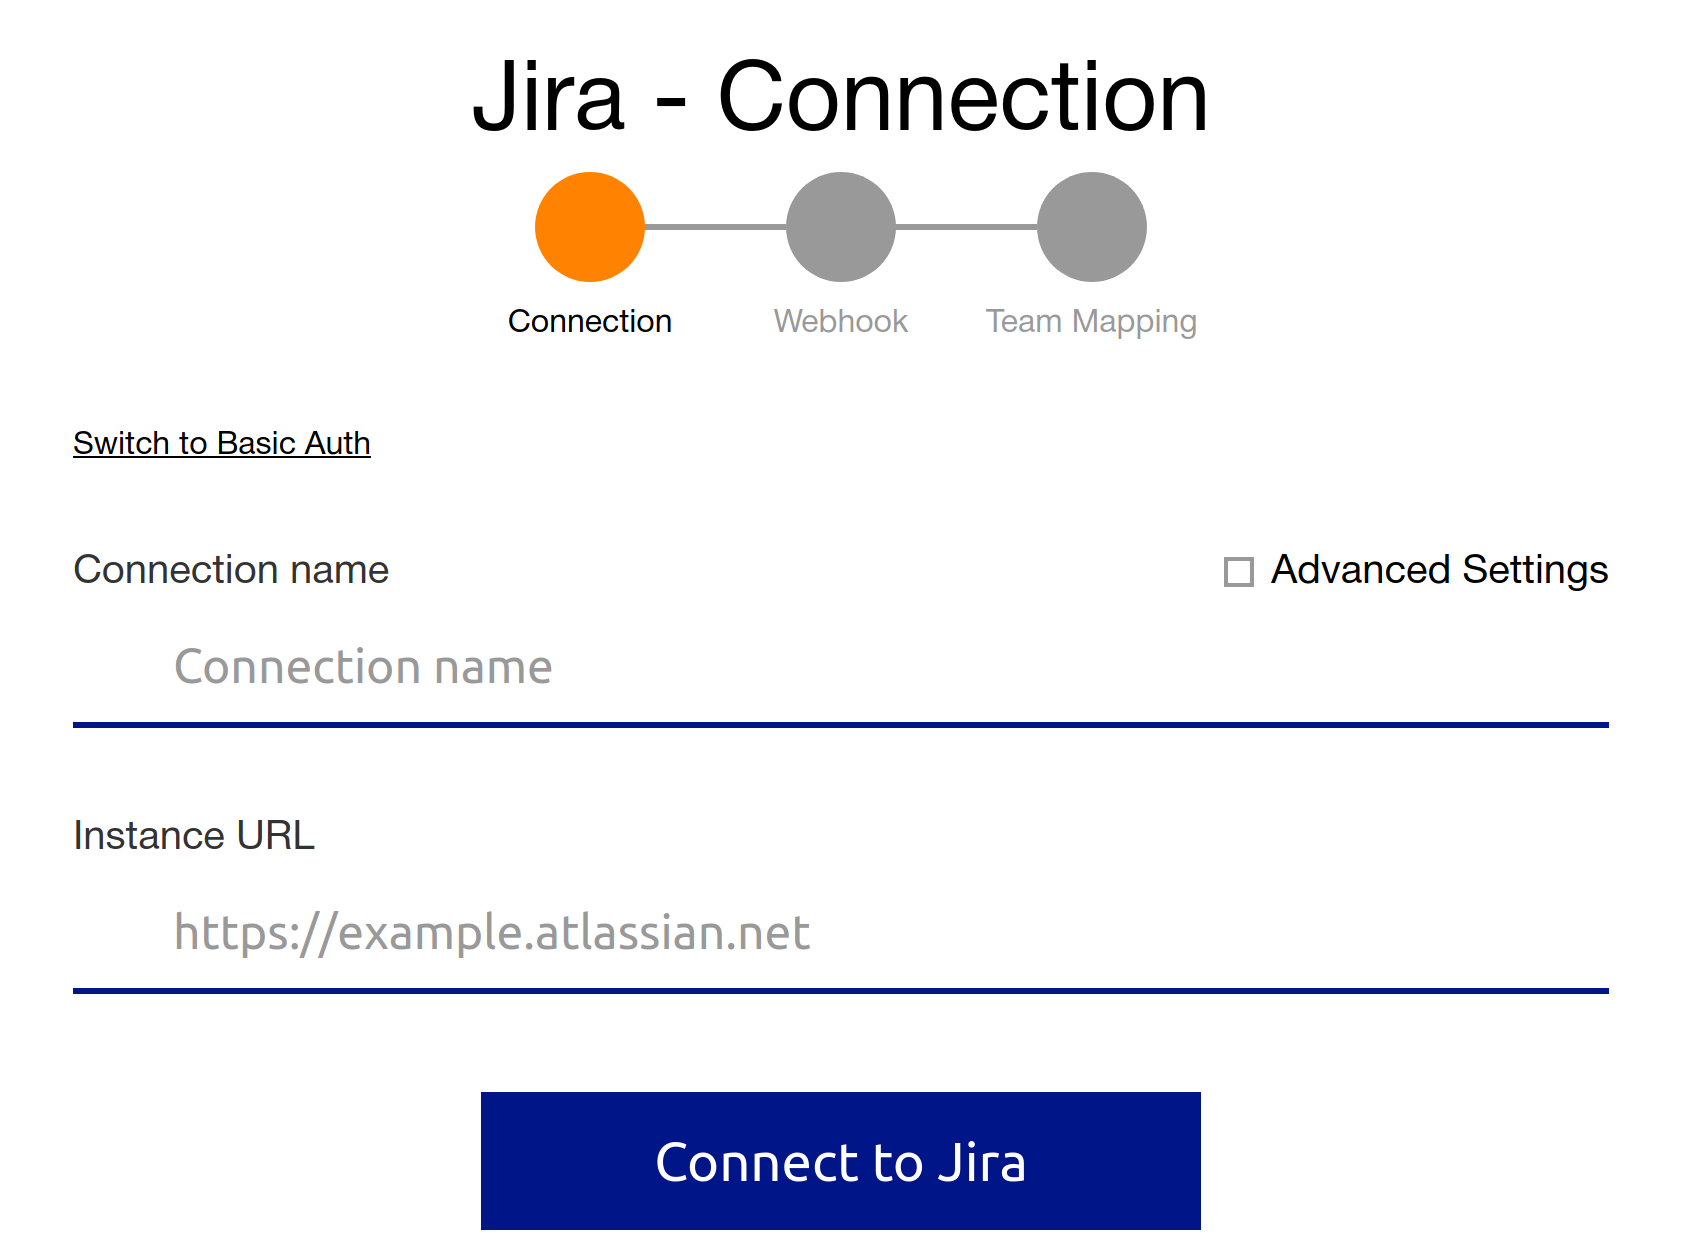
Fill out the basic connection details. To start the OAuth-dance click "Connect to Jira"
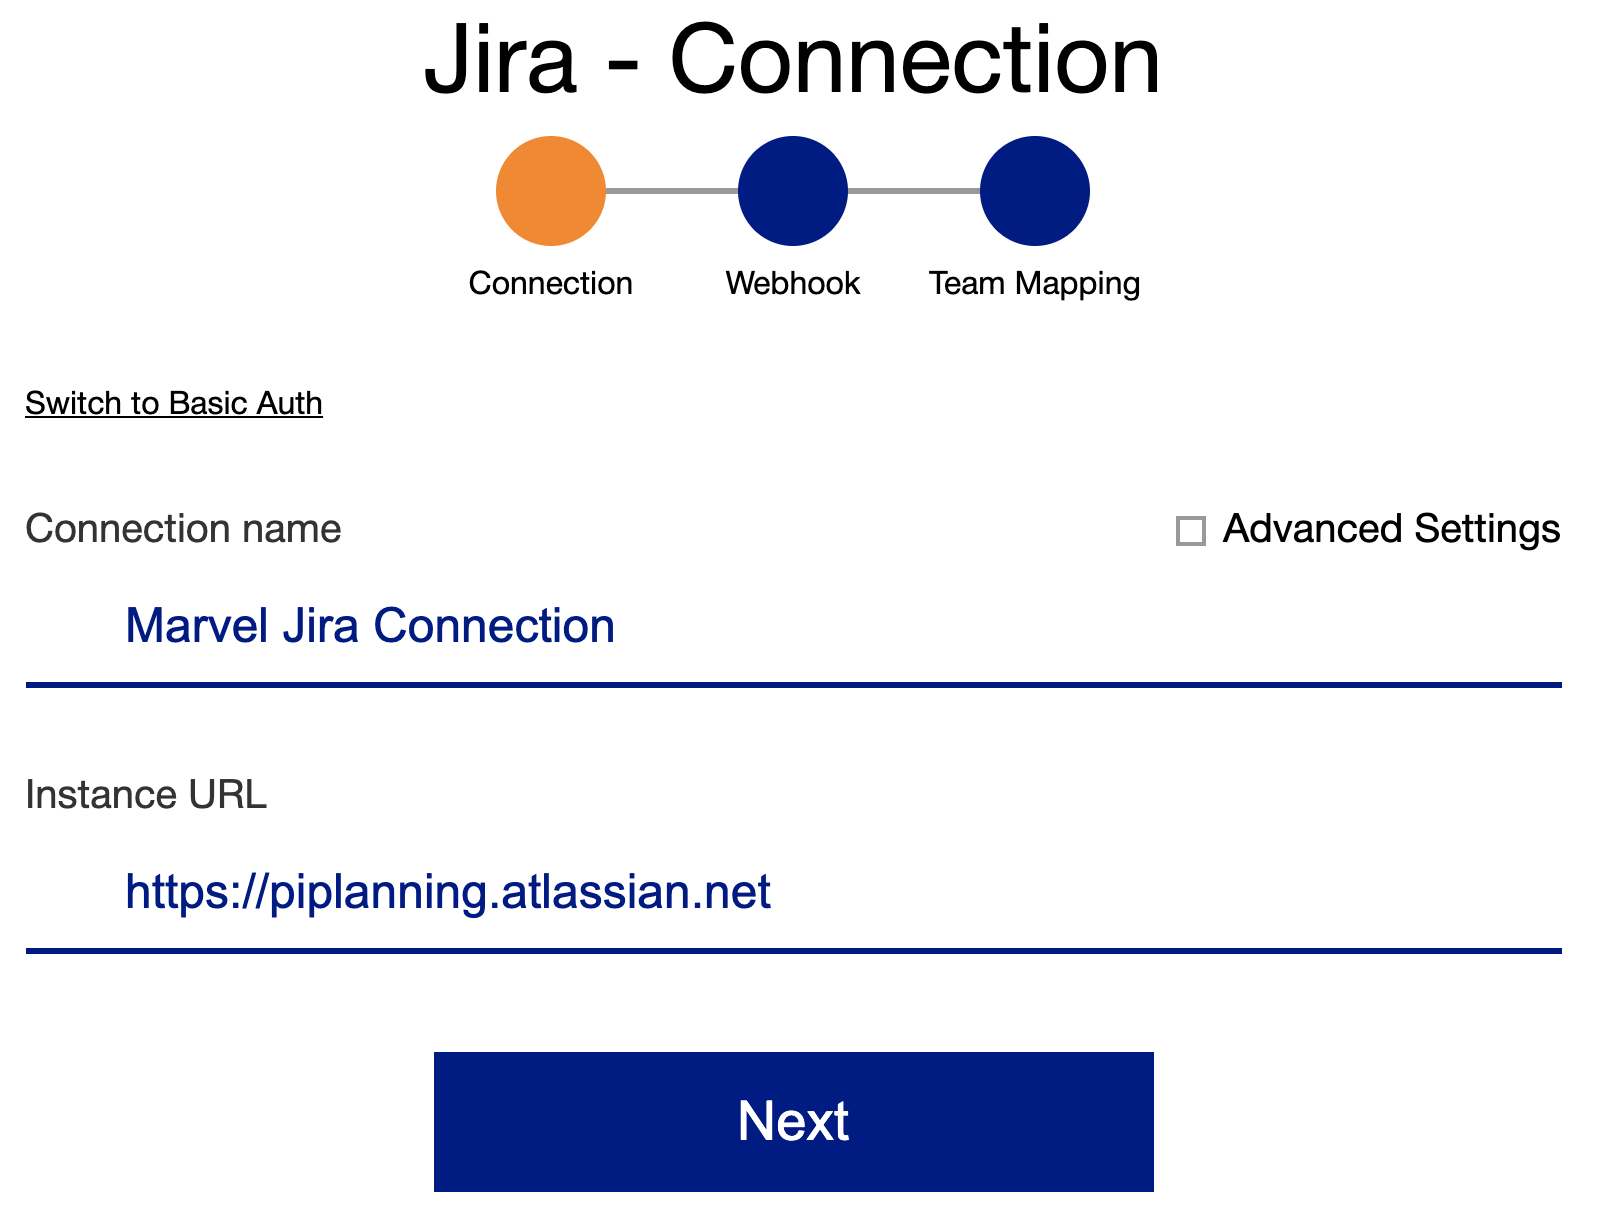
Name Description Connection name Name for the connection. That is just for the user to give a friendly name. Instance URL Url to your Jira. Use http or https as schema.
In the OAuth popup, follow the steps mentioned in the video or use instructions from step-by-step guide Setup OAuth for authentication with Jira.
The user with which you are logged in to Jira (as mentioned we recommend that to be a service user) while setting up the OAuth connection will be used to to do all the sync-work between Jira and the piplanning-app. Make sure that this user has appropriate permissions.
The keys used in the OAuth connection are the same overall Jira connections created by the same piplanning-app company. Those keys are generated at first usage.
Re-Authenticate (i.e. when you want to connect with a service user)
Please follow the steps in the video to re-authenticate with a new user