2.2.0 Installation
In this guide we'll run you through installing the PI-Server application using the Linux Docker installer.
This is the most straightforward way to get your PI-Server up and running on a Linux server. If you know your ways with Docker and Unix, you most certainly be able to install it on macOS to.
Installation of PI-Server
Satisfying the requirements
Hardware
Suggested hardware requirements for evaluation:
- RAM: 4GBytes
- Hard-disk space: 15GB
- docker images are around 6GB
- DB's depend on the usage. It will be in the MB (instead of GB) range
- CPU: at least one (v)-CPU (~ 2Ghz)
Suggested hardware requirements for production:
- RAM 8GB
- Hard-disk space: 50GB
- CPU: 4 (v)-CPU's (~2 Ghz)
Docker
You need docker and docker-compose (compose-file version >=2.0) installed on your Linux system in order to run our containers.
Consult the Docker documentation for instructions on how to do that. https://docs.docker.com/engine/installation/
Python
You need to have Python installed on your host system. Version 2.7.
Get access to the Rentouch Docker repository
Internet: If you have access to the internet from your server, you can use our docker hub to fetch all the images automatically.
Request a login (username and password) for the Rentouch-Docker-Hub from Rentouch if you do not already have one.
docker login harbor3.piplanning.io
No Internet: If you do not have access to the internet, you can download the images in a .tar file. Make sure you download the one which is matching the version of the installer. If there is no matching docker-images .tar available, please contact us directly as we only update the images archive manually.
- Download the archive to a computer with internet access.
- Move the .tar archive to the server on which you are installing pi-server.
- Input the command: (this may takes a minute...)
docker load -i pi-server-images_2.2.0.tar
Downloading the PI-Server installer
Download the installer package from https://binaries.rentouch.ch/on-premise/ by:
wget https://s3.eu-central-1.amazonaws.com/static.piplanning.io/releases/on-premise/pi-server-docker_2.2.0.tar
You can then unpack the archive:
mkdir pi-server-docker && tar -xf pi-server-docker_2.2.0.tar -C pi-server-docker
Enter the pi-server-docker folder
cd pi-server-docker
Basic server configuration
You will find a file called piplanning.cfg in the installer folder. Please modify this file with your favorite editor (example vim or nano).
It is mandatory to set the hostname in the piplanning.cfg file as you can not use the server on localhost only. The desktop Apps and Jira (webhook) rely on an accessible PI-Server. You can also use your servers IP-Address instead of a hostname.
- Change the hostname field to your hostname or IP
- Change the backend password to a random string
- If you want to use encrypted communication please refer here.
- If you have a load-balancer in front which does handle TLS, please refer there.
Run the installer and launch the Docker containers
When you have altered and saved the piplanning.cfg file you can start the containers by:
./install.sh
You can re-run the install.sh command to restart the server (containers) at anytime. You need to re-run install.sh after you have changed something in the piplanning.cfg.
Configure the PI-Server via the web-interface
At the end of install.sh you will get the URL which points to the set. It should look like: http(s)://<hostname>/cockpit/setup.
Navigate to this URL in your browser and fill out the form.
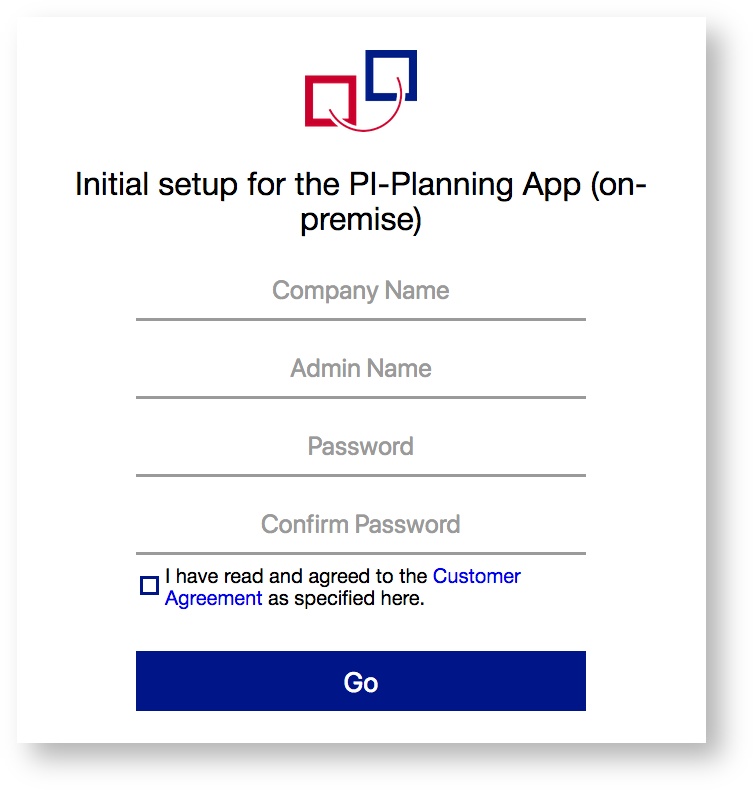
You can not change the company name once you have it initially set up.
Install your license
After you have pressed "go" you will be directed to the PI-Admin front-end. Skip the init-setup to go directly to the main-page.
Next navigate to the settings-page in the left menu. 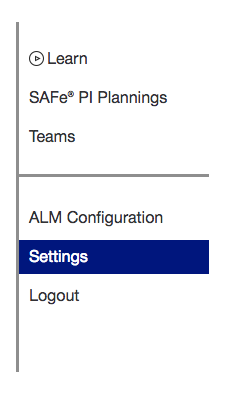
Scroll a bit down to get to the License settings.
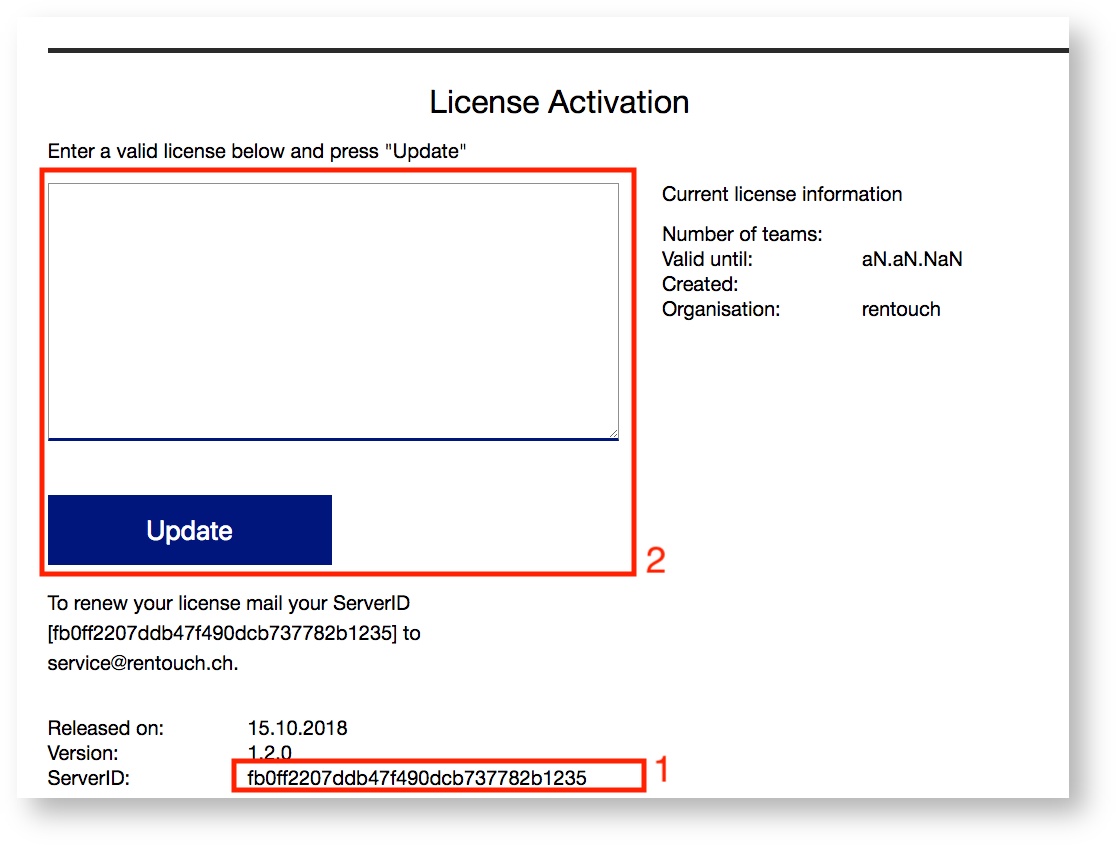
To receive a license, please send your ServerID (1) to service@rentouch.ch. We then will send you the license-key which you can paste into the input-field (2) and press Update.
Create Teams
Please refer to Prepare upcoming PI Planning (with Jira sync)
Connect to your on-premise server from the Webapp
Go to the following URL to connect to your webapp:
http(s)://<hostname>/
Connect to your on-premise server from the Desktop-App
Please refer to Connect to your on-premise server from the desktop-app
Setup webhook for Jira or Rally
Test if your webhook URL is working by entering it into the browser. It should tell you something like: This is a listening Webook end of: <company-name>.
You will find the URL in pi-admin under the ALM-Settings or it gets you displayed after start.sh. It has to be of the format:
http(s)://<hostname>/jira-endpoint/<company-name>